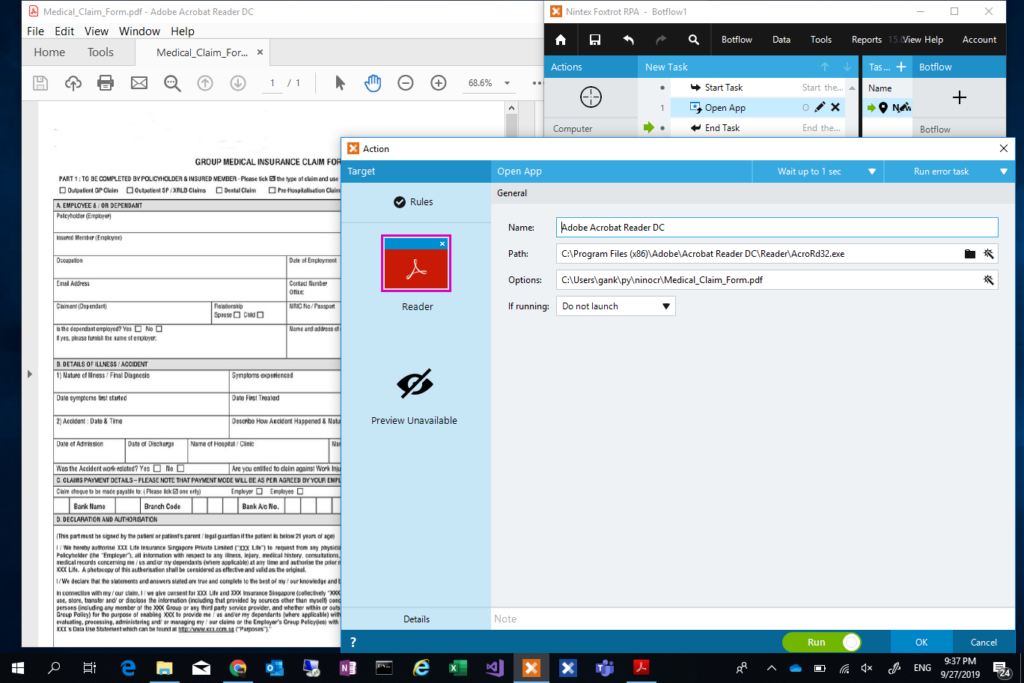
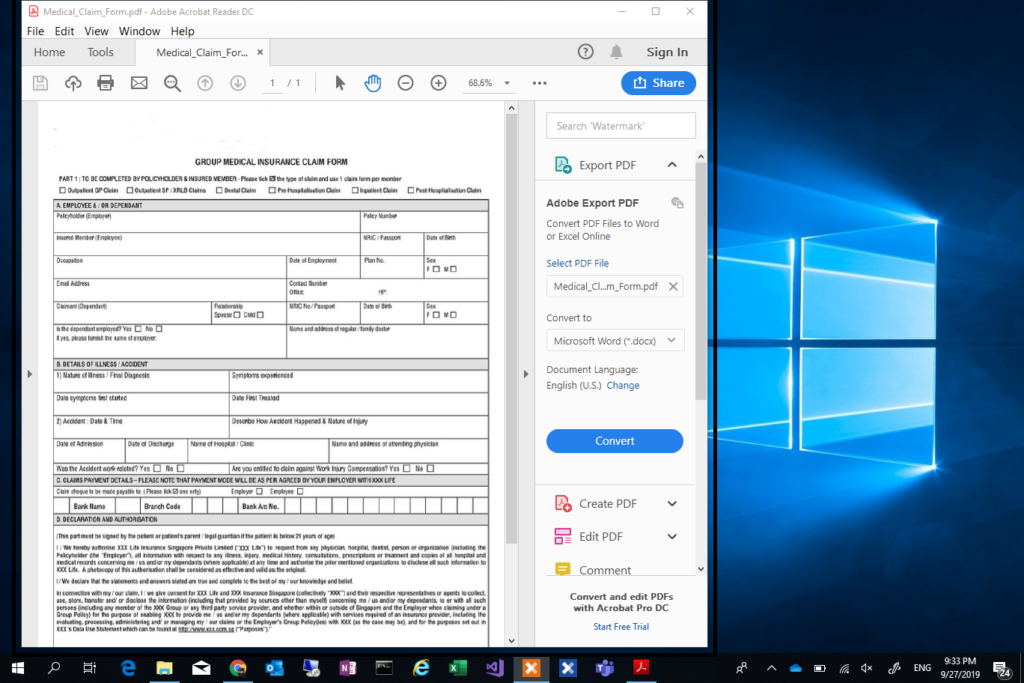
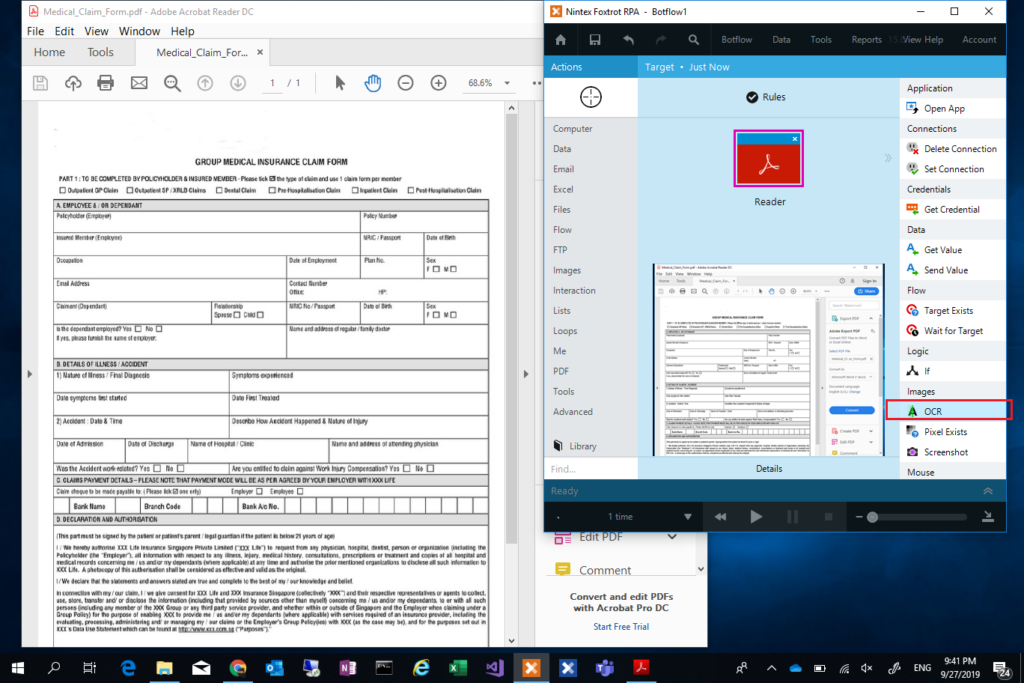
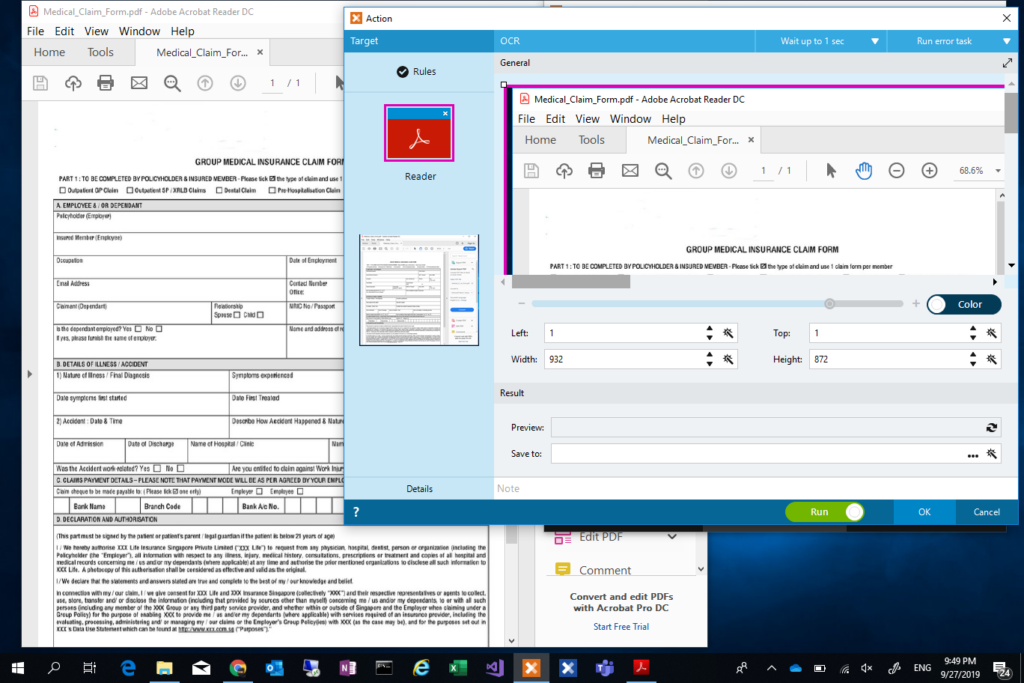
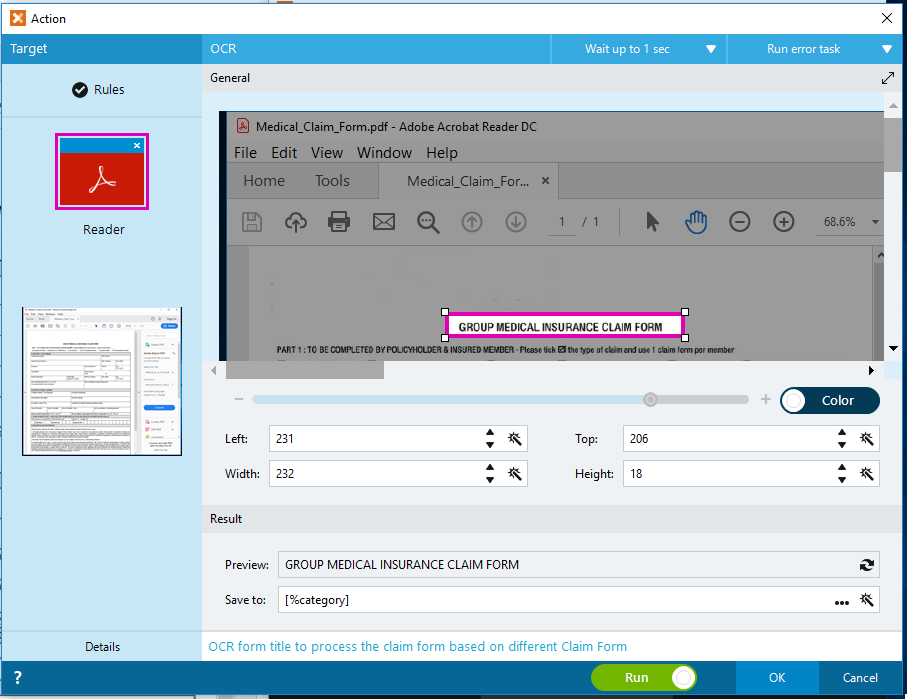
In my previous blog post (i.e. RPA Claim Processing – Part 2: Simple OCR), we have learn how to use the built-in Simple OCR to read printed text from a PDF form. This helps us to process all inbox pdf and categorize the documents to different claim categories. Let us take a step further, instead of OCR the printed form title, if we use the same technique to OCR a PDF that is filled with handwritting, we will come to realize the Simple OCR is having difficulty to get the right recognition of handwritting for us. The results of the Simple OCR i have tested are shown in the below captures (i.e. using PDF, Image, and Cropped Image). Take note of the Preview results, the result is somehow unpredictable and unexpected.

Figure 1: Simple OCR with PDF
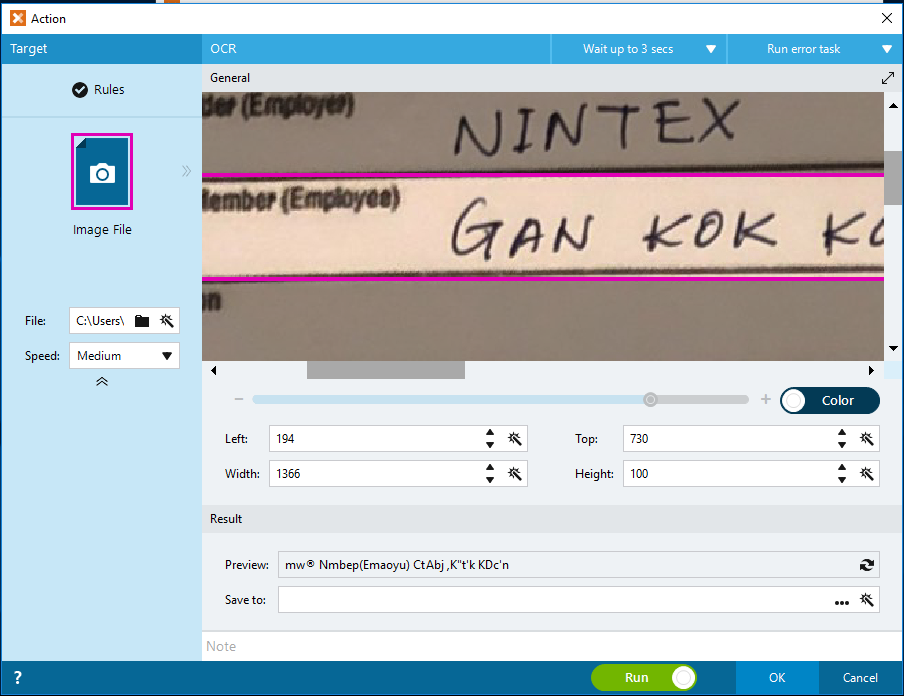
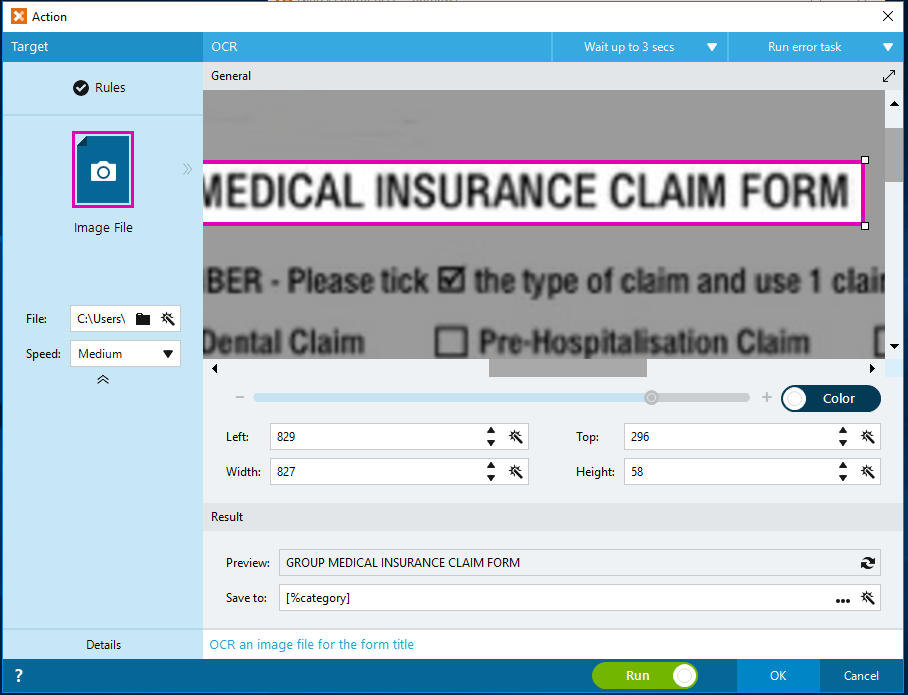
Figure 2: Simple OCR with JPG Image
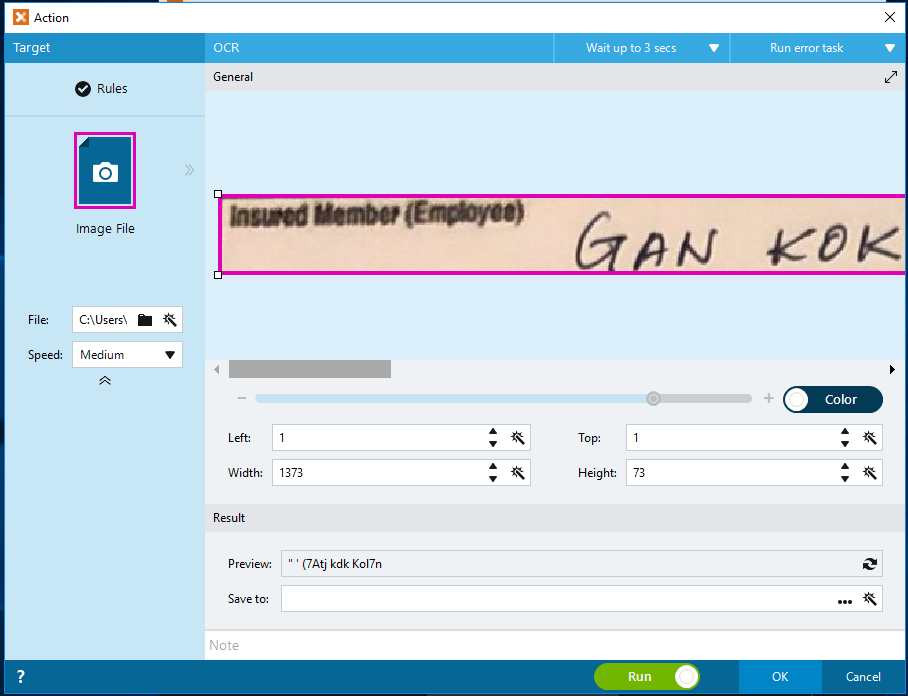
Figure 3: Simple OCR with Cropped JPG ImageGoogle Vision APIGoogle Vision API can detect and transcribe text from PDF and TIFF files stored in Google Cloud Storage (i.e. Google Cloud Vision API ). Unfortunately, as our users concern about having to save the entire PDF files in Google Cloud Storage, we are going to convert the PDF to Image file, and take each of the “input field” of the document to be sent to Google Vision API. Google Cloud Vision API takes base64 image for OCR purpose, there is no need for us to save the Image/PDF to the Cloud Storage. By OCR input field by field, it minimizes the effort to parse data that is for the entire document. While testing on Google Vision API, I come to realize Mathias Balslow @mbalslow of Foxtrot Alliance has already shared a great post on How-To Use Google Cloud Vision API (OCR & Image Analysis), without reinventing the wheel, we can simply follow what was shared by Mathias on how to setup and use Google Vision API. I will be attaching my script on my testing in this article later, but without the iteration part. Below are the steps of my script:
- Create a list of “Input Fields” to be OCR
- Open the Image file and saved it to duplicate the file as current <fieldname.jpg>.
- Open the <fieldname.jpg>
- Crop the image to the area representing the input field
- use the REST action to send the <fieldname.jpg> to Google Cloud Vision API endpoint.
Here is the cropped image of my Fullname field:

The Google Cloud Vision API returns the result that is very promissing to me, the returned result includes the blurry/noised field label in my case (i.e. Insured Member (Emplyee)), and the handwritten full name. The result in json format as summarized below:
{
   "responses":[
      {
         "textAnnotations":[
            {
               "locale":"en",
               "description":"Insured Member (Employee)\nGAN KOK KOON\n",
               "boundingPoly":{...}
            },
            {
               "description":"Insured",
               "boundingPoly":{...}
            },
            {
               "description":"Member",
               "boundingPoly":{...}
            },
            {
               "description":"(Employee)",
               "boundingPoly":{...}
            },
            {
               "description":"GAN",
               "boundingPoly":{...}
            },
            {
               "description":"KOK",
               "boundingPoly":{...}
            },
            {
               "description":"KOON",
               "boundingPoly":{...}
            }
         ],
         "fullTextAnnotation":{
            "pages":[...],
            "text":"Insured Member (Employee)\nGAN KOK KOON\n"
         }
      }
   ]
}
With the returned result above, it makes the parsing much easier compared to if the result consists of data of the entire document. Up to the current stage, you might be wondering do I have to get every single machine with the capability to convert the PDF to image, or if every bots we have, to categorize the documents for processing, I will be sharing and discussing on bots deployment options for the Claim Process. After that I am also planning to revisit our python code to further explore how we can overcome the challenges on parsing the return result of Google Vision API.