In a perfect world, we will have anything we need in the way we want it, but the world we living in is not perfect, so we will need to go around to get things done. If we have a local OCR system which could take any format of documents for OCR, we can simply get our scanned PDF/tiff document OCR.
In my next blog post (i.e. part 3), I am planning to send our document(s) to be OCR using google Vision API. Google Vision API only takes/supports PDF file that is stored in the cloud drive. When come to store important documents in the cloud, it concerns the banking and finance institutions users.
Before we get into Google Vision API, let us examine the built-in Simple OCR of Foxtrot. I am demonstrating the two ways I know on how to use the Simple OCR action:
Creating OCR Action with Selector (e.g. OCR an openned PDF file)
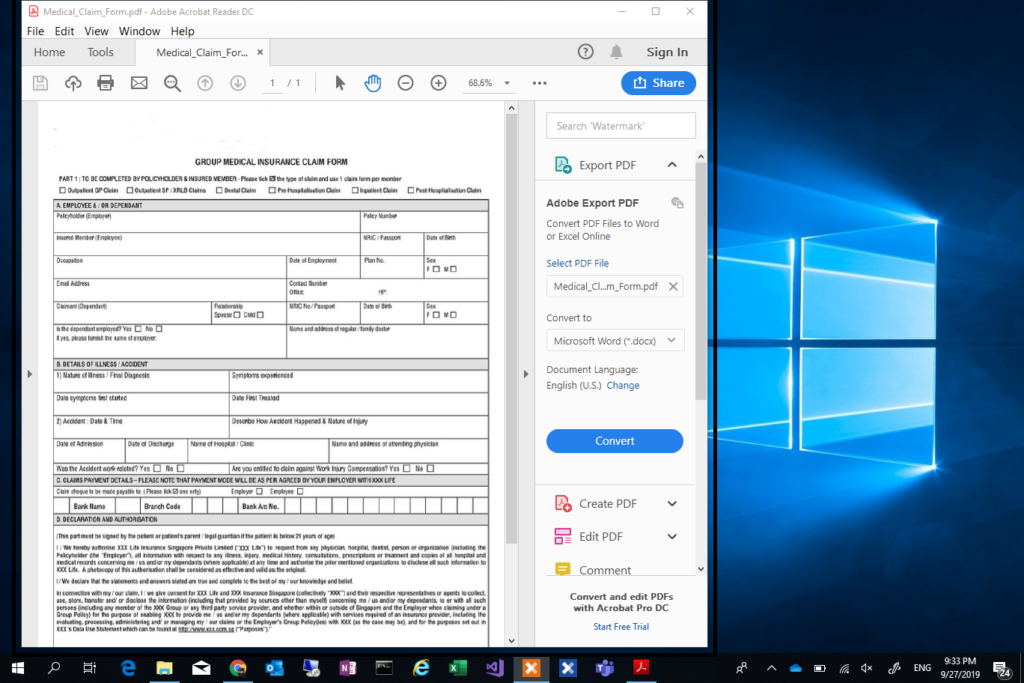
1. Open the PDF that we wanted to OCR.
Before we could use the Selector to create an OCR action, we need to have our PDF file opened. To do that, the first step is to record an “Open App” action to open the PDF file. First, open the PDF file manually, with the PDF file opened, drag and drop the Selector positioning at the window title of the PDF file to create an “Open App” action (i.e. screen captured below), make sure we supplied the file path in the Options field. This action once executed will open the PDF as we specified in the Options field.
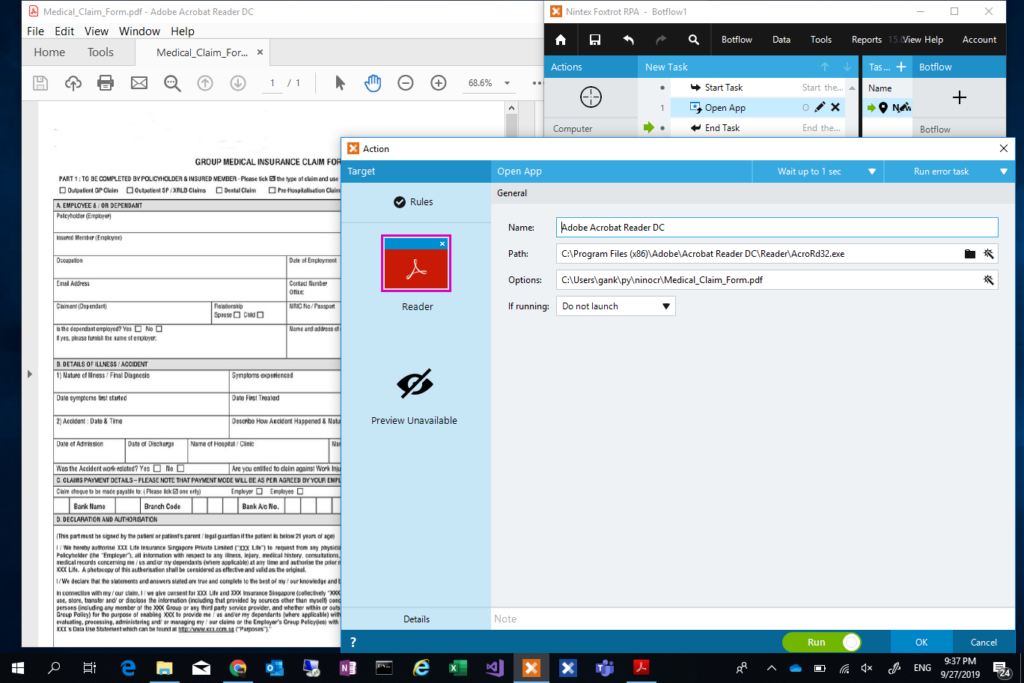
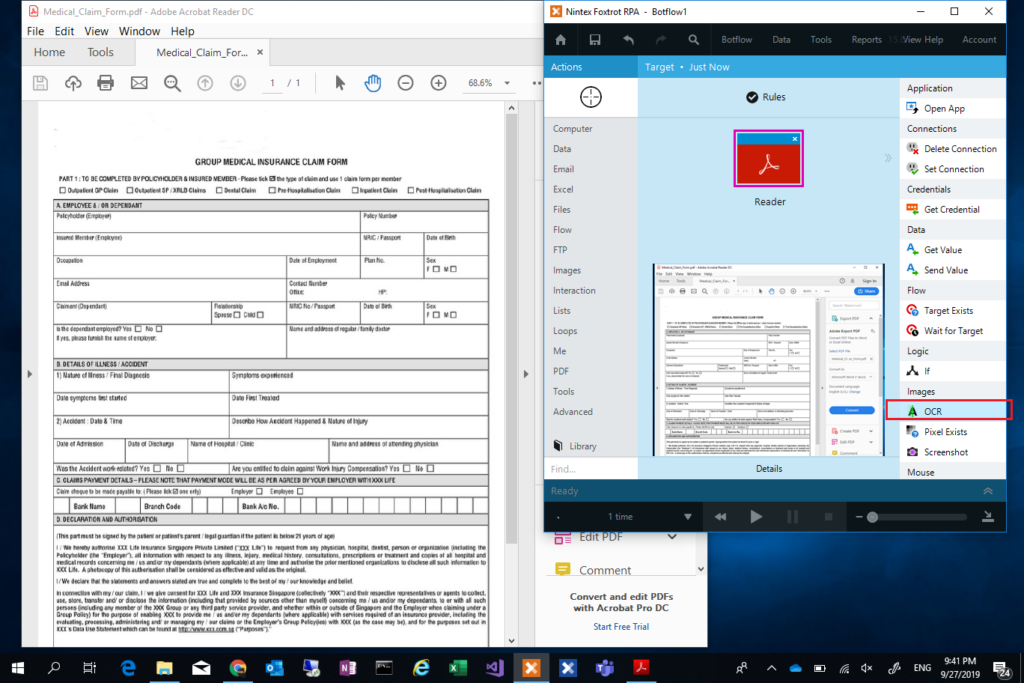
2. With the PDF document openned, we can now create an OCR action using the Selector on the opened PDF window. Drag and drop the Selector to the Acrobat Reader window, make sure the entire PDF window is now selected as shown in the below capture (i.e. boxed around the window)
3. Once we released the Seletor, we will get the “Target Preview” as shown in the below capture, select “OCR” from the Target Preview as shown in the captured below
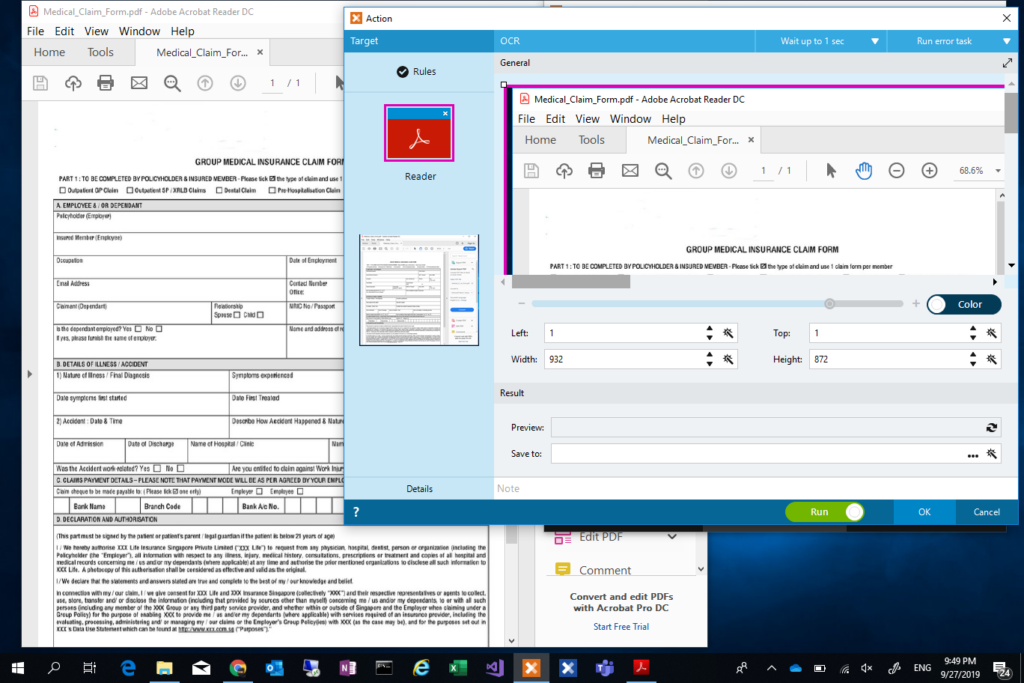
4. The above step will give us the OCR Action Builder to which we can draw a box on the PDF area we wanted to OCR.
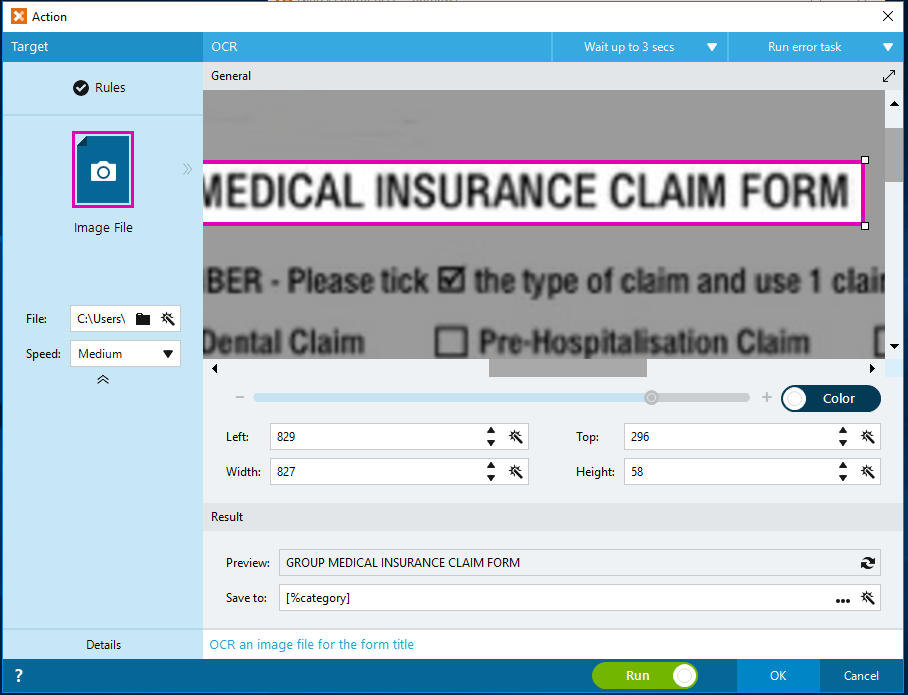
5. As we received different type of claim forms for processing, I am using the Simple OCR to identify the Claim type by recognizing the form title. This helps me categorizes Claims into different categories.
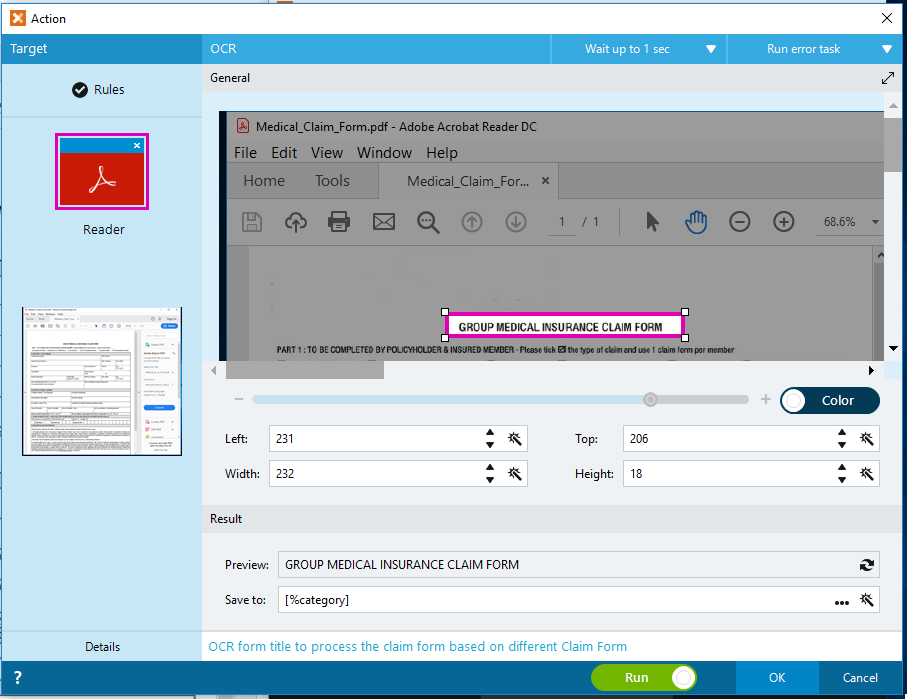
I am so far happy with what the Simple OCR action can do for me. As shown in the captured above, I have highlighted the form title “Group Medical Insurance Claim Form” for the OCR. Simple OCR action provides the Preview capability, it shows the recognition with perfect match to the actual form title.
The same technique is used and applied to form reference number in the real scenario, where each of the forms we have will have a form reference number that we can use for categorizing the documents.
Use the OCR action from the Actions panel
1. Create OCR action from Actions Panel.
We may create OCR action directly by selecting the OCR action from the Actiona Panel. To do so, select “Images group” from the Action panel followed by OCR action from the images group of actions. This step gives us the OCR action builder as shown below
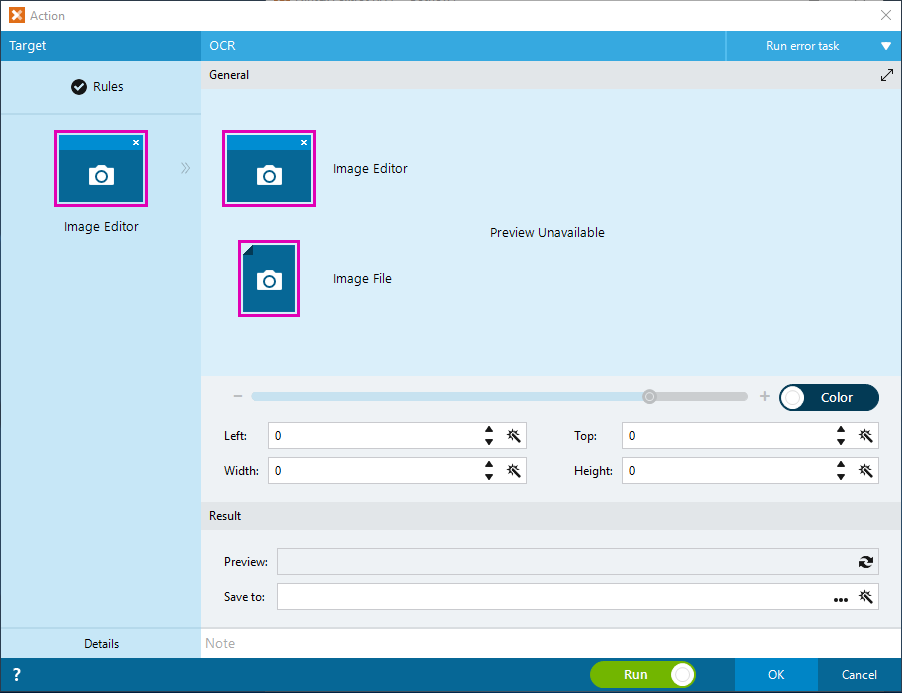
This tells us using the OCR action directly, it only allows us with “Image Editor” or “Image file”. We will not be able to OCR a PDF file this way.
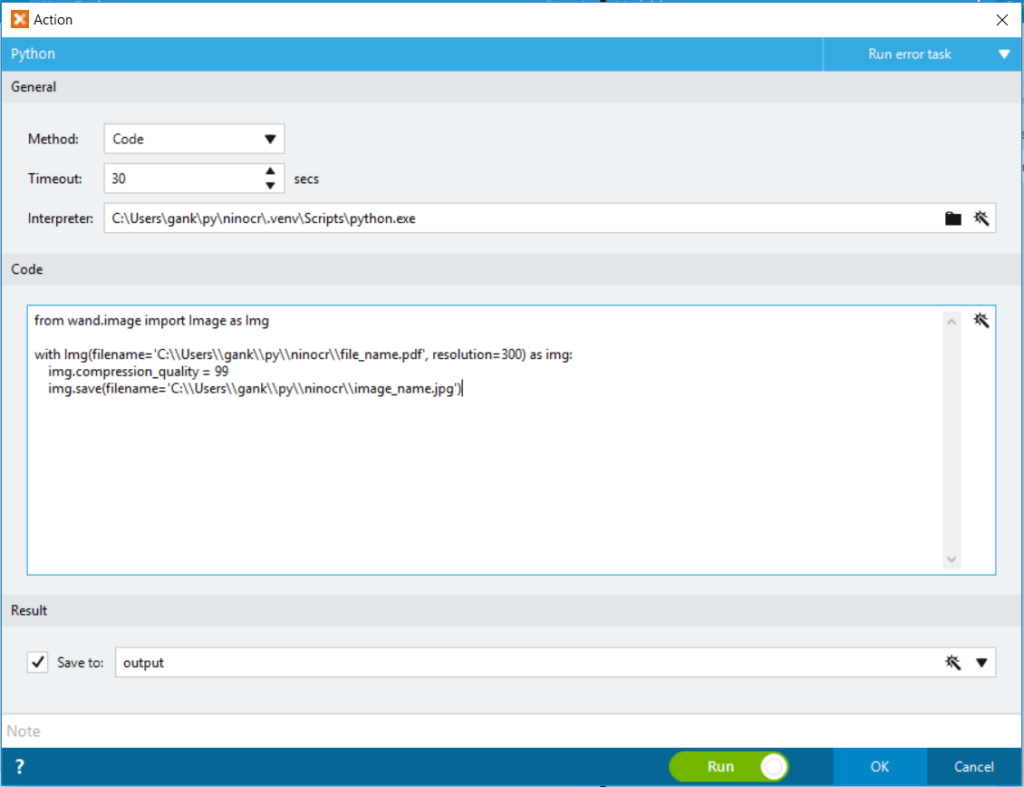
2. With the Image File, we can use the image file we converted in my previous blog post (i.e. RPA Claim Processing – Part 1: PDF to image conversion with Python). As shown in the OCR action builder in the below capture, the SImple OCR is promissing with perfect recognition for the Form Title of “Group Medical Issurence Claim Form”.
With this exercise, hope we are now more familiar with the built-in Simple OCR action and equiped ourselves with the knowledge on how to use it.
I will be showing how we can use Google Vision API to perform tasks I have challenge getting it done using the Simple OCR action. More importantly, how we address the concerns on sending and store the entire document on the cloud for the OCR purpose.
For more details on the PDF to Image conversion, you may visit my previous blog post RPA Claim Processing – Part 1: PDF to Image Conversion with Python